Sunday, March 20, 2022

Sea Bags

Working on items to restock for next winter for weeks and weeks now... need a change of pace ... decided to do something fun..

I have been gearing up to make bags have ideas for so many it was hard to pick where to start lol.. with my sewing area under works i was able to narrow it down a bit.. 
got a few base bags done and now adding to them..


                             picked up some patterns to start me off on applique work from  Raverly, Etsy and YouTube  ... didn't take long to decide to switch to free form.. got a few really good tips along the way so worth the price and time


I picked up a few cutting mats from the Dollar Tree awhile back for my cutting table.. tapped them together.. works great and was able to fit it to my table.. planning on adding a few more as things move on with my sewing area.. in the mean time I am using one slid into the bag to make seaming down so much easier..


Saturday, January 22, 2022

Jean seams door mat

Been putting my guys "trashed" jeans aside for future projects.. I knew I would need a fair amount for what I want to do...  but I also knew I wouldn't be happy tossing a lot of scraps.. 
Been on the look out for ideas.. came across a video on YouTube that got me thinking.. they did a large coaster/trivet,  by rolling and hot gluing the seams not quite what I was after but cool ..
 I use the outer thicker seams for straps but after cutting up a dozen pairs I had a lot that weren't quite good enough for that purpose... 

 belt loops can add interest or have a useful function in many projects true..
however I have something I want to try with the waist bands.. 

The tiny ends are going to find their way into another project.. eventually along with the other bits and pieces.. 

the rest will work for my scrap door mat.. 

Nothing fancy here.. useful definitely.. 

Some of the seams I left larger edges on as the holes were cut around. I do want the "frayed" look after washing 

I used a piece of poly cotton fabric scrap I had leftover for the backing.. didn't measure anything just used what I had laying around.. 
 I didn't want anything thicker than necessary.. the seams are thick enough for a good mat.. no need to add extra stress to the sewing machine.. just enough to hold it together..  after sewing add puffy fabric paint or hot glue lines to the back for nonskid effect..
I simply stitched through the centers of the strips adding another snuggly as I went


At the ends I just turned it stitching the new strip's top in place.. 


Rolling the works as needed to fit through the machine..


You definitely want to use a heavy duty needle.. and sturdy thread.. 
I made one on my Singer Heavy Duty machine going through the pieces smoothly..
Tried another on my regular Singer without issues.. I did have to slow down in places but overall it was smooth.. 
I didn't attempt it on my lighter duty machine.. 
I highly doubt it could handle it, works well for light repairs though and I wasn't about to turn down a free machine lol 

After adding the strips I did stitch from side to side with about one inch in between rows zig zagging a couple of the joins to ensure everything stayed laying flat . and didn't fall apart in the wash.

A few months of use and still holding up well.. perfect for drying wet boots on 

Tuesday, January 18, 2022

Thimble for knitting

 I haven't been knitting much lately, just a random project here and there.. 

I tend to knit with a snug tension, not overly tight but snug enough to hold dpns in place.. I didn't realize just how much I used my index finger to scoot my needle back a bit until now .. 

I love my Knit Picks needles, their tips are still super pointy after more then a decade of use.. while I haven't been able to use them much recently they have been used for countless projects .. after a few hours I started to feel just how unconditioned my finger tips were.. I have been doing a lot of sewing.. it hit me my thimble from my great grandma would be perfect 


It is open on one side.. so fits on several fingertips well.. also allows for longer finger nails .. 


Worked out great.. only used it for a day until my finger was no longer tender.. after a couple of projects I am back to not needing it.. but will definitely keep this in mind if there is another long break in between knit projects 


Friday, December 31, 2021

Fabric bowl


My dog has a hard time eating from a solid bowl.. his nose is longer than the rest of his snout .. he is of a good size so most kibble is small enough to get in his nose.. 

 I saw a microwave bowl cozy.. this could work for both sending hot foods over to my parents house nextdoor and my dog.. made one for doggie first figuring I could tweet the pattern for my parents cozies in the process.. being 100% cotton shrinkage is going to play a part in overall size..

Had a few extra minutes the other day so put a simple 10 by 10 inch two layers of outer fabric and two of batting .. darts were 1 inch long by 2 deep ... used a cute dog lead fat quarter..

He loves it.. eating without any issues.. even asked for more.. will post a update with overall instructions after I get sizing worked out better. 

Thursday, November 11, 2021

New items

 Just added more winter hats to my Etsy shop.. check out the link on the side for more.  ( web version view ) Or click here

Longtail stocking caps.. 

This one is about the textured not the length


Look one of my labels lol.. 


This one is definitely about the length.. 49 inches without the pompom 


I had to make a couple of hoods.. totally freeform.. just had a general idea of what I wanted it to be.. 

So much fun to make 


Went to our first event since covid shut things down.. sold more than I was expecting.. it was really nice.. everyone was staying back a bit more than in the past but yet very relaxed.. definitely need to make more for online shop now though lol 

Sunday, September 26, 2021

Handmade labels

I decided I wanted to add labels to some of my items.. 
Didn't see any I really liked for sale..
I want a rustic feel, simple..
 non perfect.. you know not looking store brought..

Want everyone to be just a bit different.. even if it's just the way it's folded and seamed..
So set out to make my own.. 
While I want them to be some what individual in appearance I also don't want to spend too much time on just a label..

Checked out a couple of YouTube videos..
The ones I ran in to first used transfer paper for ink jet printers.. and ribbon..

Wasn't thrilled about the shininess of the over all look but thought I would give it a try.. got the transfer paper but couldn't find ribbon I liked.. so I was thinking of making bias tape.. 
I wanted the look of muslin if I could get it worked out .. should be able to make bias tape with easy enough..
then a older video popped up using freezer paper to print on fabric.. while I was working out how to mirror image my typing.. I don't have the programs or want to buy into any used in the videos so it was taking a bit.. I did work it out by jumping between a couple of free ones.. but that freezer paper one got me ..
No flipping the image.. no shinny plastic topping.. no edges to deal with..
I could use the muslin and get a rustic look.. plus I have freezer paper on hand for applique work.. 
It took a few trys to get everything worked out with my printer..
 the thinner fabric worked much better.. kept the heat light enough to not warp the freezer paper.. used Avery templates .. I have been using Avery labels for our egg cartons for years now.. perfect fit and easy to use.. plus no added cost.. 
I sell in person in my town as well as online.. my online shops and blog were started long before we started doing reiki at local events.. we are known as The Reiki Shack in town.. after a bit we added eggs and craft items to our events.. all charged with reiki of course .. people ask me where my crafts can be found online.. so for now I am adding labels that list my Etsy shop name.. 


 I just cut them out and press.. I used a bit of stick glue to make that easier.. 

I decided to over stitch longer ones on to my yarn items and add folded ones to seams on my cloth items.. 
Quick and easy to switch up.. doesn't take too long to make.. low cost.. and the look I was going for... 

Hat hair


 Needed a way to display scrunchies in action lol... 

DC hat.. started with 6 DC's .. 3 rounds of increases .. finished with a round of SC.. just added fringe long enough to pull back as a pony tail..

Thursday, September 23, 2021

HDC tip for even rows

I love the look of hdc tbl ( half double crochet through back loop USA term ) 

However it hasn't always been a mindless stitch for me..  I tended to skip the last stitch if I don't count every row.. 
Decided to place markers in the back loop of each stitch on the end of the row.. takes way less time than counting each stitch or frogging a few rows ...
 I am sure I'm not the first one to think of this but a reminder every now and then doesn't hurt lol 

Guaranteed not to miss the last stitch..


Just remember to put it in the right spot when you start your new row


Saturday, August 14, 2021

Sewing again


 Been picking up fat quarters when I see them on sale/clearance.. now the Halloween ones are out so I had to get a couple of packs of those, right ;)

some I plan on using for small quilts or pot holder and such but I thought I would keep mask supplies in stock just in case.. if for no other reason than personal use.. as it turns out sales on the limited number I have in my shop are ticking up again.. 

 I pull out the fat quarters to start ironing them.. 

when I buy them I spray them down with rubbing alcohol, after removing the label.. never do it the other way around... trust me on this... makes a mess of the glue ..Ugh 

 Let dry then spray with water and iron on high heat.. tightens the fibers up nicely but takes a fair amount of time to "dry" them with an iron.. especially with the high humidity not common in our area

personally I like masks, two January's running now I haven't had the flu..  or major allergies either spring.. we've been using them for yard work, cleaning out the chicken coop, painting anything that normally sets off our allergies, but I didn't think to put one on before ironing the new fabric.. why do people feel the need to scent everything anyhow.. 

add the wet weather to that, after a few hours of ironing .. I had way more than I realized ( clearance price of 25 cents a fat quarter for puppies and hearts and some pretty animal prints that will make a cute baby or lap blanket ) ... playing with a rotary blade or doing anything that was so detailed was out of the question at that point..

 to pass time while working on crafts I run YouTube videos, gave up cable and regular television years ago  ...  YouTube craft videos is a favorite pastime of mine.. 

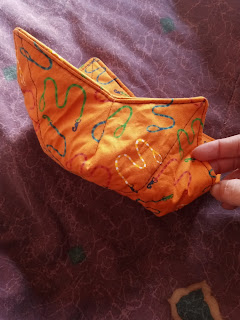
this time I put in quick sewing projects.. stopped in the middle of pulling out the fat quarters to make a cute bag pattern I saw being made..


scrunchies are apparently a thing again.. 

I have never worn one, the last time I had my hair in a ponytail was like preschool.. when I couldn't get away from my mother fast enough lol

 normally I find it a painful experience .. I have super fine hair, lots of it but so fine it takes a tight band to keep it in place .. 

seeing all of these different techniques for making scrunchies with minimal cutting involved, with all my fabric sitting in front of me.. I had to give one a try.. 

Made a blue one using amounts called for... it was fun to make, fairly fast although I used the ladder stitch to close up the opening as I was not using a coordinating color of thread.. was just playing around so didn't bother .. even at that it was pretty fast.. nothing like doing the out of sashay yarn.. now that took time .. 


             not too bad for using black yarn


 took three wraps.. or is it twists .. around my hair to hold but it did hold.. without pain.. 

That of course meant I needed to try again, so I shortened the amount of elastic but added to the fabric both by two inches.. 

Having the Halloween fat quarters in front of me and intending it to be for me I had to go with skulls... with a black background.. so closing the opening was super quick this time.. using the method of seaming and stitching the elastic together at the same time, just leaving a small side opening to finish off.. 


left a bit of a flat seam but not real noticeable when wearing, only took two twists .. perfect .. 


side by side comparison of size and closing seams.. 

Got called outside to help out so I only got one done, but wore it for hours without an issue.. dang too bad I just cut off about 9 inches of my hair lol..

I am so going to be making more of these 

Scrap yarn

Another use for small bit of scrap yarn.. 
 
 
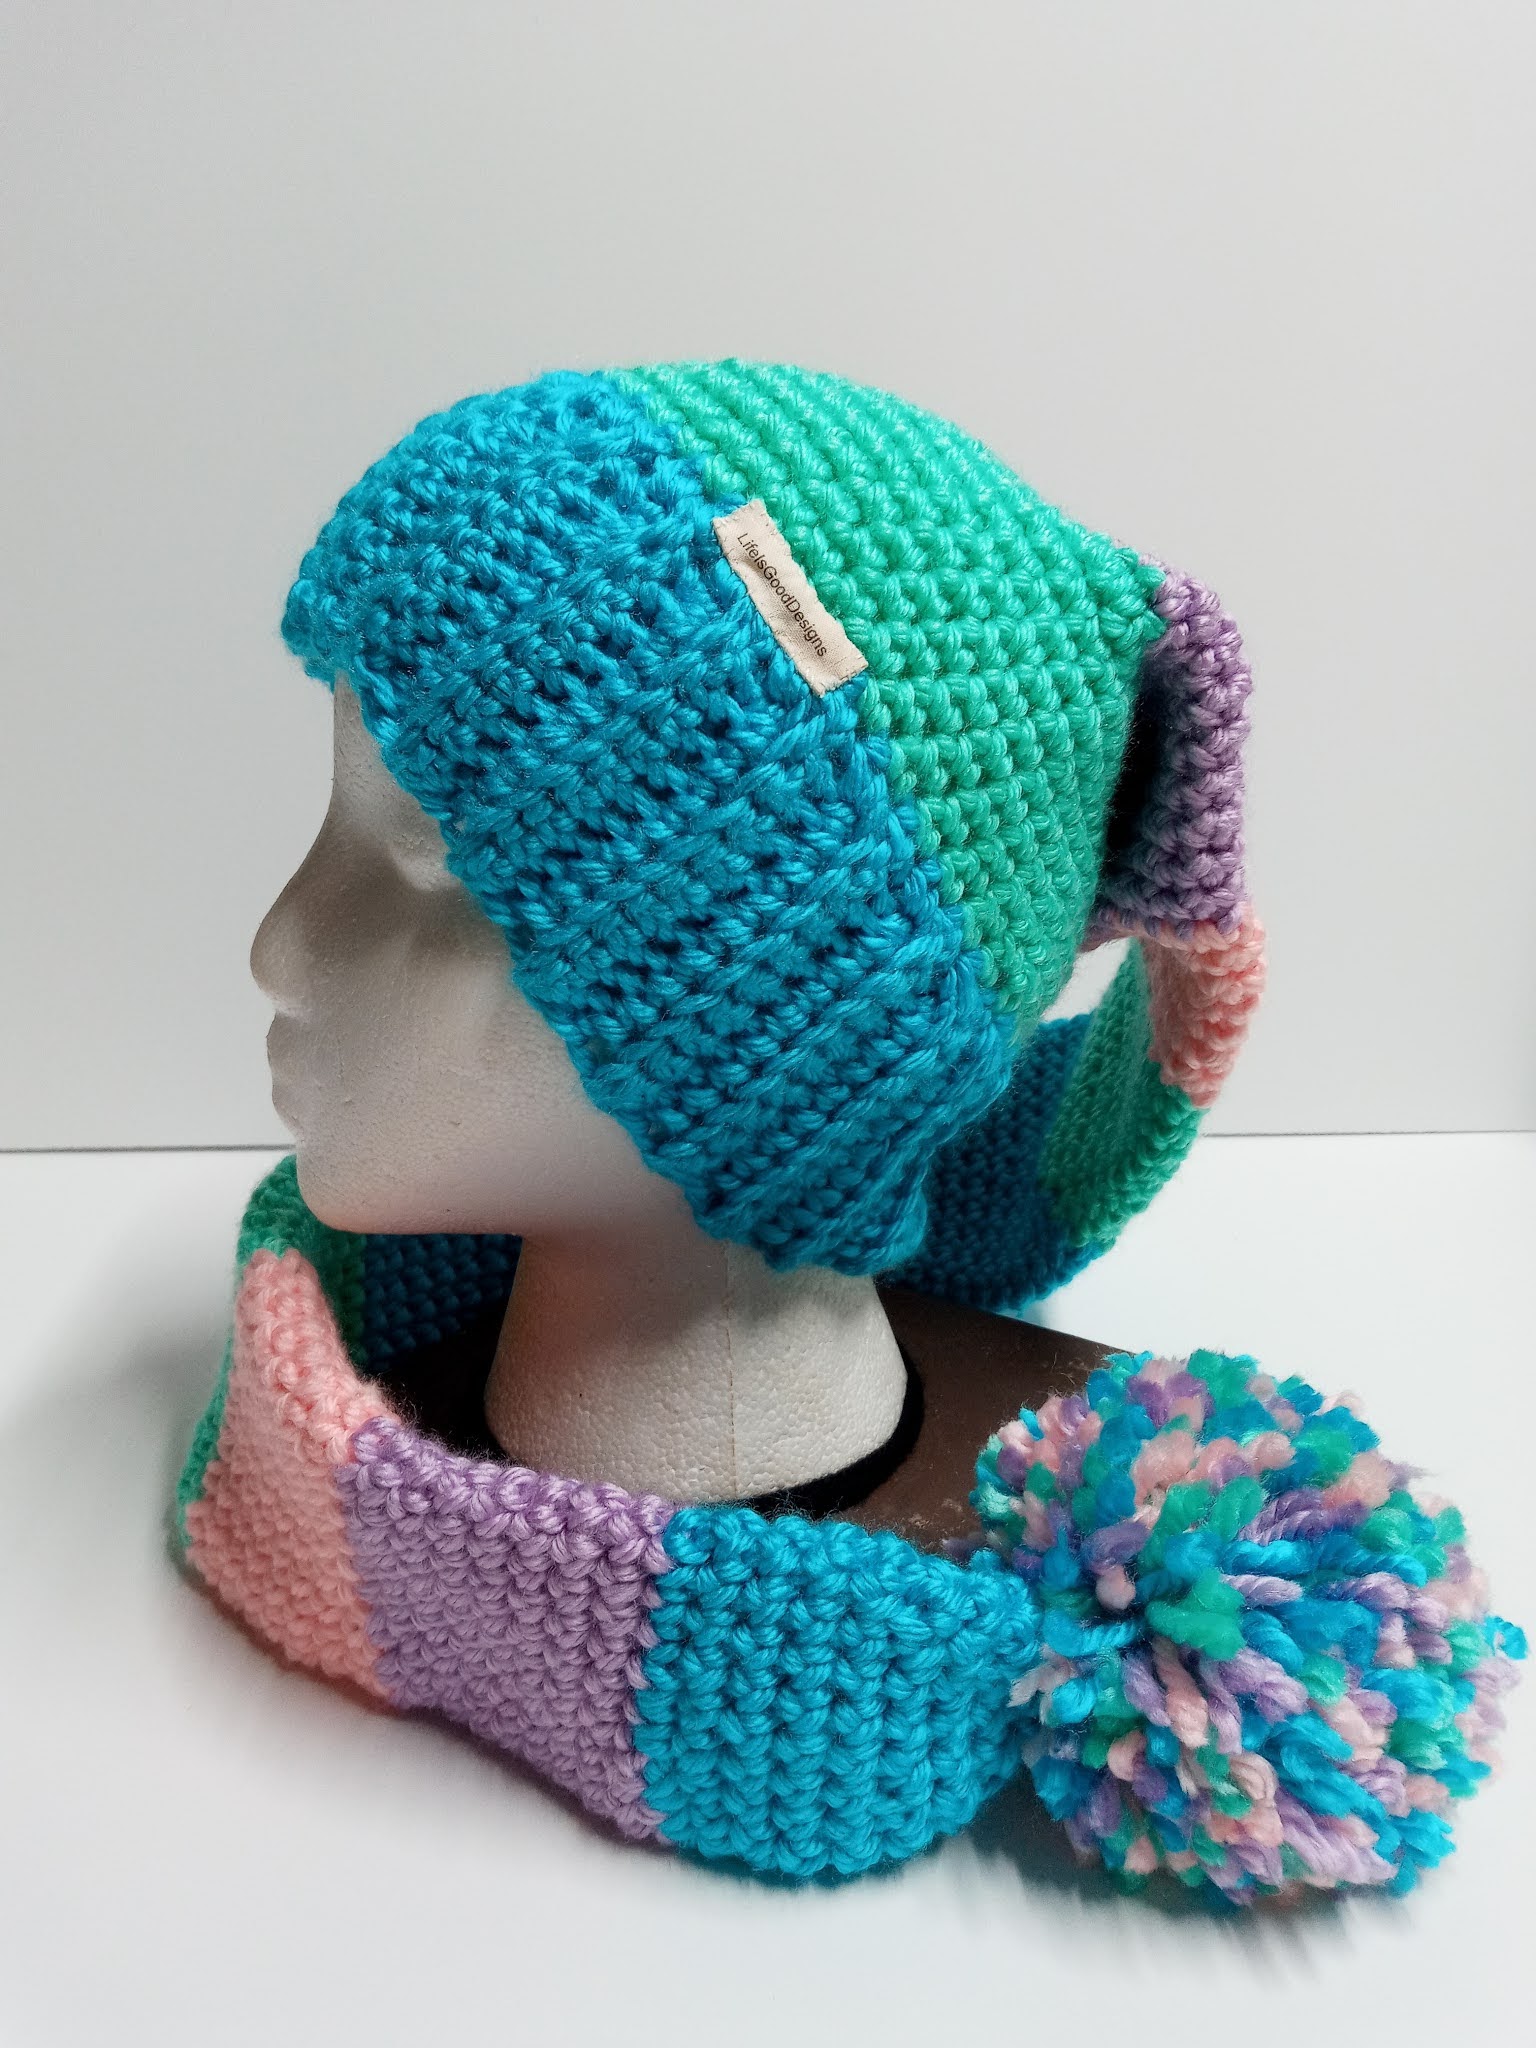
 ... use a fork to make small pom poms, mix and match colors


glue on some googly eyes ( clear drying craft glue )
 and some felt feet and you have a new yarn critter lol


add craft magnets or leave as is.. 
I might try adding a key chain to a few