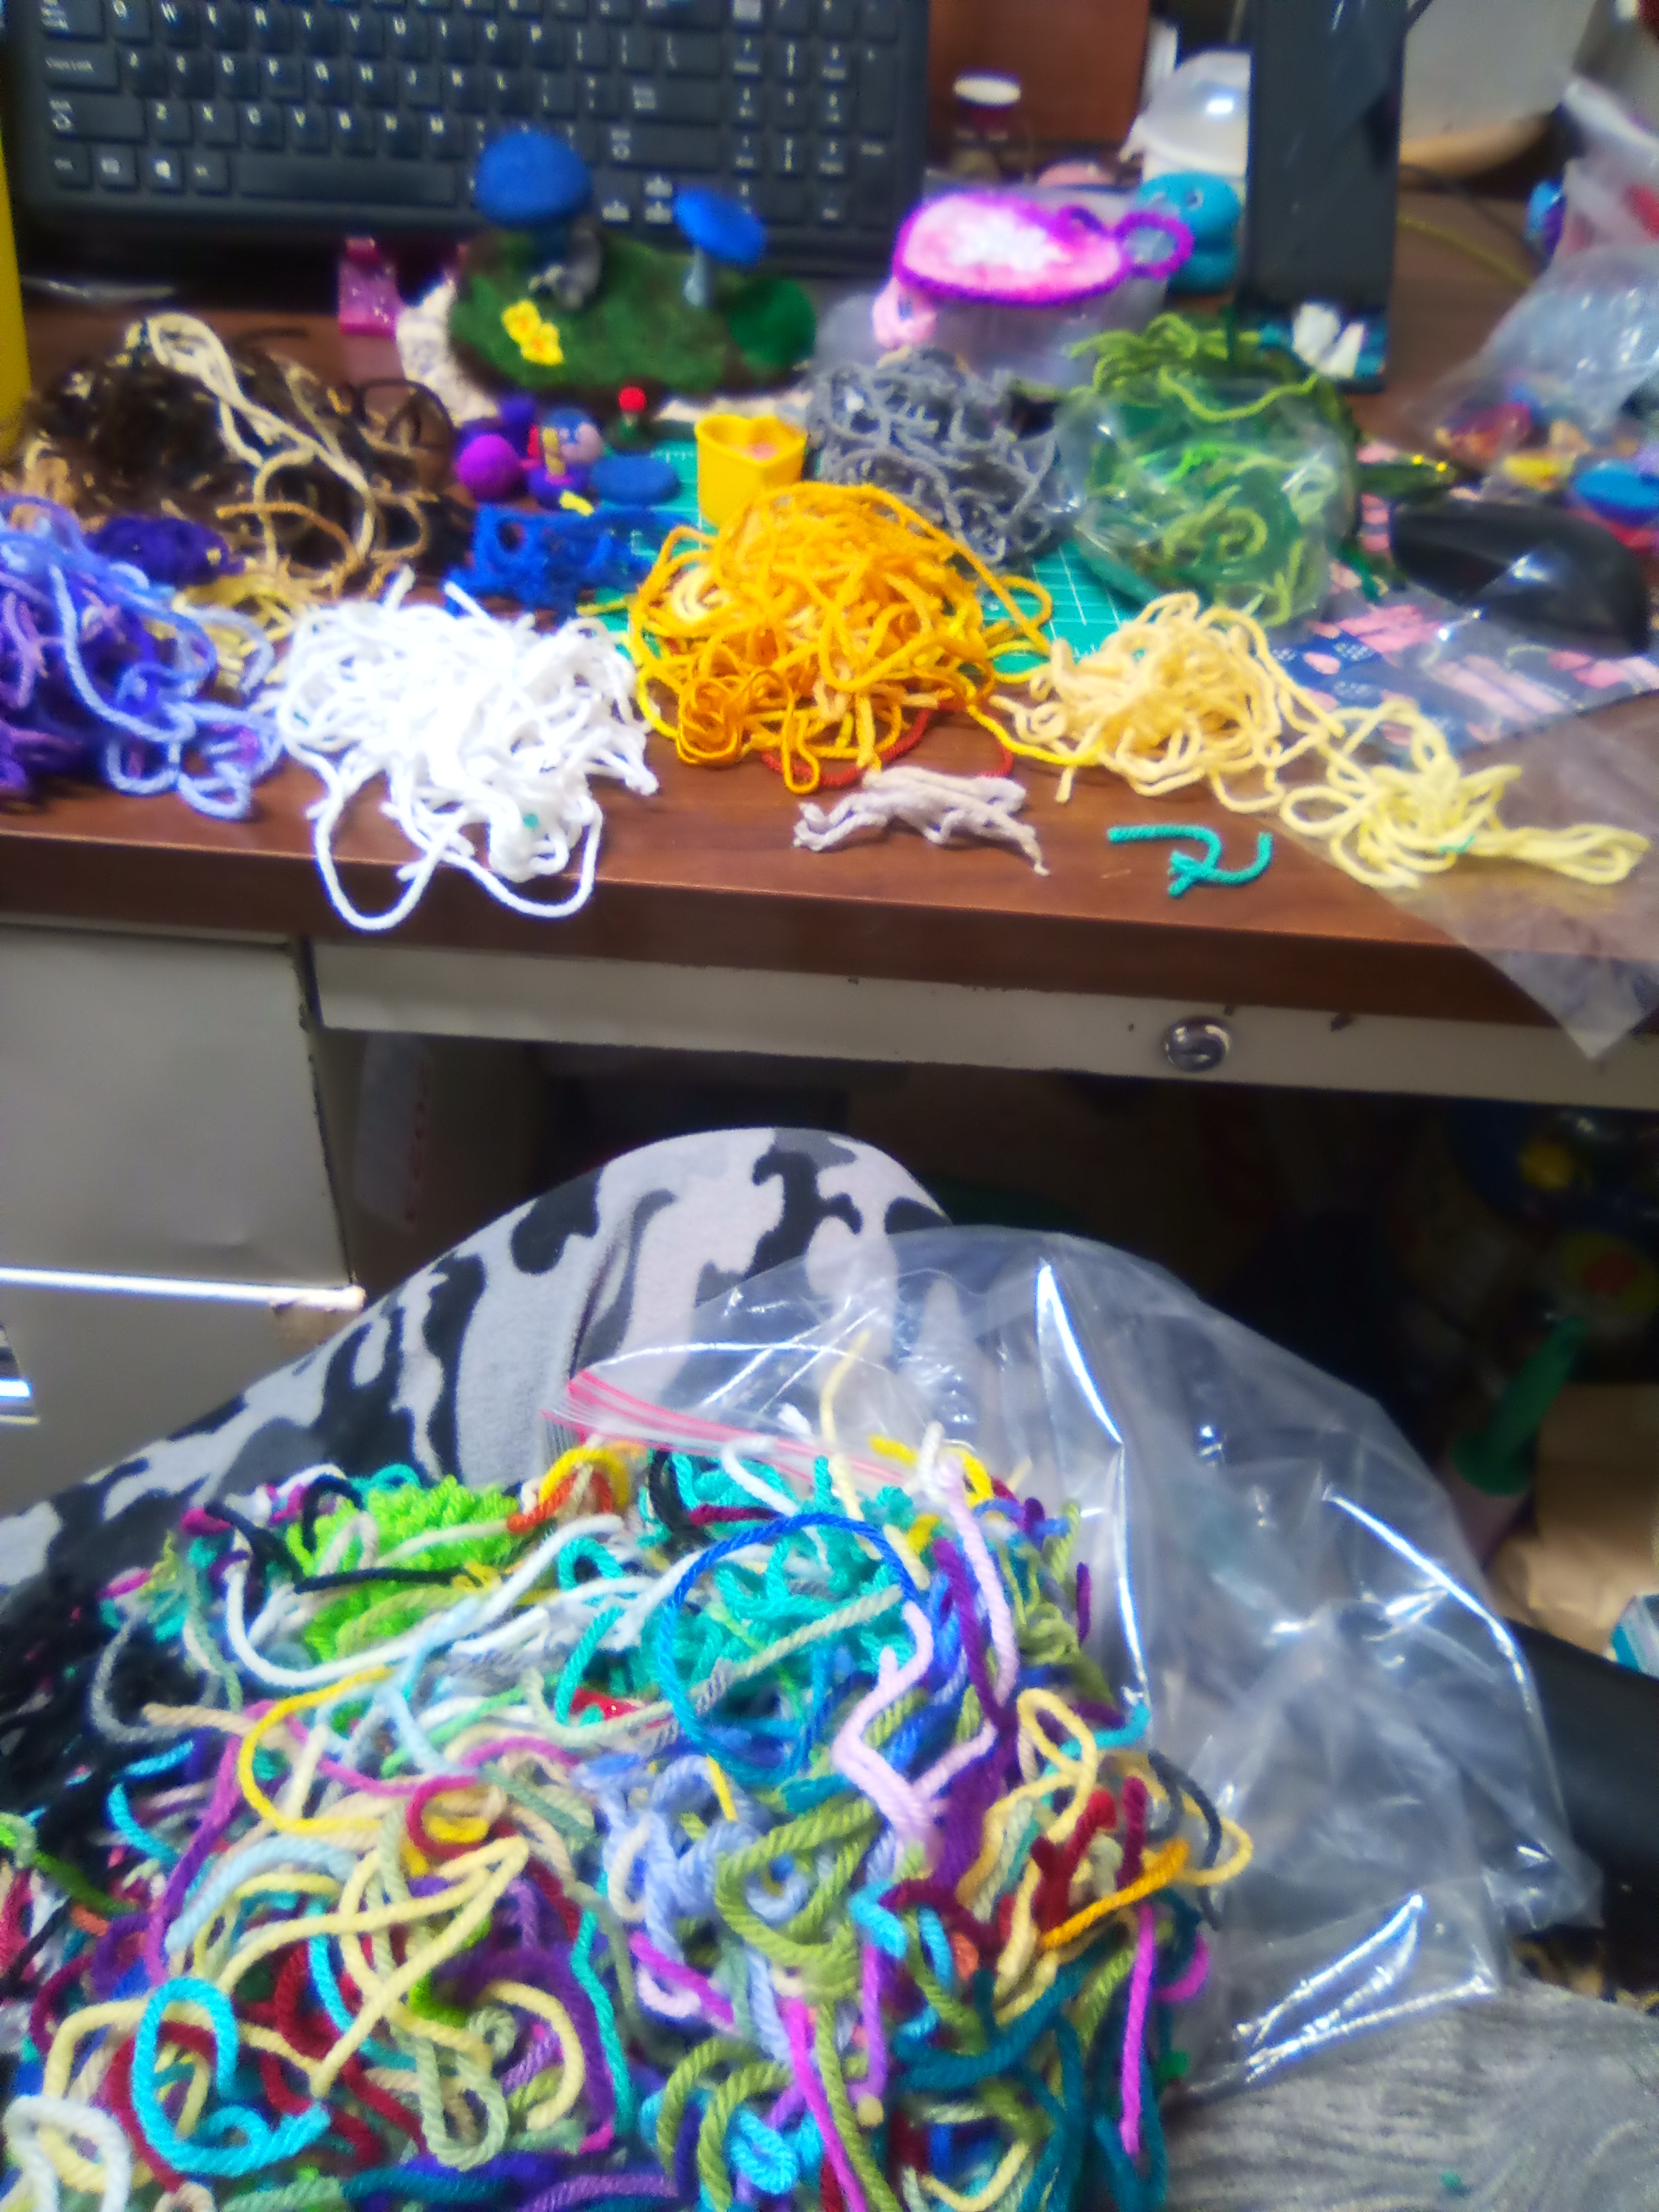
Monday, March 4, 2024

Cthulhu two different takes

I've been meaning to do a deeper dive into amigurumi for a bit now.. it is a crochet world of it's own pretty much.. where styles can range from minimalist to super detailed, ulta realistic to far out fantasy.. thread or super bulky..
 whatever style or size you like.. whatever you can think of you can make into amigurumi.. 
I have been collecting patterns for years now.. exploring the different styles and techniques.. at some point I will release some of my own but right now I'm having a lot of fun and learning a lot
Recently I purchased a book on Kindle of crochet Cryptids and creepy creatures, unable to thumb through the whole book of course, I wasn't really sure what I was getting but judging for the cover, I was sure to get a few cute ones at least.. it was clear it was going to be in a minimalist style, 
I'm not even sure if that's the right term for this style, it's just what I have been calling the patterns that only use safety eyes and no other facial features and a minimum of details for the rest of the pattern, so that's how I will continue to refer them until I find out otherwise..
I did a quick review on my Facebook page ( Life is Good blog )  of the patterns for Nessy (of lock ness fame ) and Mothman.. if I get the chance I will revisit that in a longer post here... Far too many plans have fallen to the wayside to make any promises.. hopefully I have learned that lesson finally 😉

I really enjoyed making the Cthulhu out of this book..
oh the link to where I got both the book and the pattern mentioned here are below, I am in no way linked to or profit from either, just trying to make it easier to find the patterns I am speaking of for my readers...

The pattern is fairly quick and easy, I like how the tentacles are created  while making the head, no sewing needed.. but however you do need to sew the head on which I find to be a pain, if I were to make it again I definitely would just make it in one piece .. my  preference as I find I can strengthen the neck easier.. throughout the book there are a few typos ( the way every format corrects your writing whether it's needed or .. not this is not a surprise, also I imagine if you have someone editing your book who does not crochet and understand how patterns are written it would be almost impossible to not have typos ) and a lack of detail that might be difficult for a beginner to work out but overall this pattern and book have been worth the price.. 


The Supergurumi pattern is written for thinner yarn and a smaller hook then what I made mine with, I used worsted weight and a F 3.75mm hook .. no issues with jumping up a few sizes whatsoever.
This pattern does not fit into the minimalist category .. lots of details .. each tentacle is stitched on separately as well as the pieces, however the body is done in the same piece as the head, 
it does take more time to finish but is definitely worth the effort. 
It is well written, it's not the first pattern I've made of theirs, so I pretty much picked up on the style they use while writing .. I have made the the Good Witch, Evil Witch and Wizard... I have a few more to go and have my eye on a few others, each pattern has come out absolutely adorable..
each pattern is also offered free on their web page .. but well worth the price for the ad free PDF.. you can find the link to their web page from the Ravelry page link below


Two totally different looks for the same character / god?.. Both patterns more fun to work on and came out with super cute results.


 Supergurumi on Ravelry
 Crochet World Creepy Creatures Cryptids Amazon

Monday, December 25, 2023

Mini wreaths


 A cute easy ornament or gift topper etc. 

I saw an magazine article about quick Christmas ideas long before the internet but don't recall which magazine,  this as it had to be a good 30, maybe 35 years ago or more... I highly doubt that magazine was the only one who was ever printed the idea, so I'm sure you'll find more ideas on how make and decorate them out there on the net.  
They are a cute easy project however so a revisit to the idea I thought was in order, I actually have been meaning to do this for years.. time kept getting away from me every holiday season.. I put a ring in my purse catch all bag as a reminder.. and this year it worked, I found it again just in time lol 
In the article if I remember correctly they used the ring from around a milk jug, as we don't drink milk I grabbed some off of water and a couple of soda bottles that my mother was a recycling. They are a bit smaller but I think it adds to their cuteness 


Just Pop off the ring


Grab some yarn and a corresponding book, in this case I used Red Heart Paddy Green worsted weight and a G 4.0 mm hook
Single crochet around the ring until it's as full as you like, slip stitch to the first single crochet stitch 


Chain a loop, I did 10 chains for these as I was planning on using them for gift toppers and didn't need it very long


Slip stitch to the next single crochet or base of the chain stitches.. 


Weave in tails on the backside.. wreath is ready to be decorated.. I tried using small amounts of scrap yard to add colonial knots (see photo above ), French knots should work just as well, I like the bit thicker colonial knots myself... This does take a fair amount of time though, so I ended up glueing sequins and a bit of  red yarn for a ribbon to them using craft glue.. maybe next year i will think of it early enough for doing all of them with knots or beads lol 

Sunday, October 29, 2023

Dollar Tree Pom pom maker

I've been seeing these little pom pom makers for some time now at our local dollar tree.. I have been tempted just because they are so cute lol
I have a set of pom pom makers I use for larger ones but tend to use a fork for tiny ones..  I passed them up over and over again..


 after completing an order or event I like to get something to further my crafting along .. this time I was shopping for both, 
our last event went well, 
we weren't sure we were going until the last second.. had to rely on what I had already made for the most part,...
 and we got an order for my newly finished top hat... one of the few new items I was able to get done.... 


So I got buttons because like other crafting supplies you never seem to have the right color or style on hand no matter how many you actually have.. besides wooden buttons how could you go wrong right... 


 plus a couple things from the dollar tree.. ribbon and I just couldn't pass them up this time... 


The instructions are very limited, but give you a general idea .. sorta 


They're not super sturdy so I don't know how long they will last however they were definitely fun to play with .. popping them apart was a bit worrisome as one of the side bars came off first.. I thought I broke it before the first one was completed .. it pops right back on lol 

 Just wrap both bars on either side.. something I didn't think to do right off... It had been a long day lol 

Not too tightly 


Close and cut the yarn, holding it together lightly 


Tying them nice and tight was fairly easy


Pop the pieces apart and trim

A bit of fiddling here and there to get the hang of it, pretty fast after the first one.. a lot less trimming then I expected was needed.. definitely glad I finally grabbed a set .. 

We place these guys all around our booth, when kids come up with their parents telling them not to touch anything .... 

which I really do appreciate, sticky fingers can ruin a project that took hours if not days to create..

 so there is something they can touch and pick out one to keep..

After the last event we are almost out of stock so this pom pom maker will be put to serious use.. testing it's longevity 

Sunday, October 22, 2023

Dollar tree yarn holder


 How cute is this lol
  I never bothered with a yarn bowl,  I use center pull almost exclusively 
I'm not a fan of spending any time rolling a ball of yarn .. a few yards sure but after that out comes the yarn winder lol
This was too cute to pass up... 
I have only used it for a quick sample.. seems to work well enough.. keeping it lower than your work helps it move more smoothly... It sure made frogging the sample piece a breeze 

Tuesday, June 13, 2023

Pouch style bag


A couple of weeks ago I decided to use some of my scraps to test different placement of increases on this style of bag.. 
I grabbed some shawl-in-a-ball I had sitting around.. I only had enough to make a little bit larger than a pouch size bag,.. 
In the end I decided I do have the increases I like best.. lol 
However I have been looking for different methods of making straps for my yarn bags .. went a braided one  .. love it., easy to adjust thickness and length, stretch is not a big issue, good stash buster, comfortable to carry and sturdy 

I had some left over bamboo yarn that I've been holding on to for ages .. mixed it with a cotton blend..
They paired up beautifully 


I finished it and set it aside ... not wanting to put a liner in.....  because the inside was just so soft and absolutely gorgeous.. it feels so luxurious I cannot think of a liner that would make it better 


At the moment I am working on denim cuffs from yet another scrap bag..  

I tend to end up working on a few at a time.. start with one.. think I should try this or that but doesn't work with the one I am working on so another one needs to be started.. and so on.......


  decided to pull out my crochet threads and make a bunch of different things I could add on as I went along..  you can see a few examples on the cuffs ... one pattern lead to another I have wanted to try in thread.. and so on ......
This will have to be it's own post lol 


Which is how I ended up working on the bag again in the middle of working on the cuffs.. 

As you can see in the first photo I added a few thread accents to the bag... and still no liner  lol 


Thursday, April 27, 2023

Old Embroidery Pattern on New Bag

I am still planning on getting back to my scrap bag pattern but haven't settled which stitch to use for the strap, so that is yet to come .. in the meantime I am working on some cloth drawstring bags.

I ran out of the ribbon I use for the drawstrings, but had a dozen more already cut out... so....

 While waiting for the next trip to town to get more, I added some embroidery to a couple of the bags using floss I had from cross stitch kits I did years ago, lots of different colors but typically not a lot of each one.. perfect for small projects.. and keeps with the theme of using scraps

Looking for some inspiration on Pinterest I came across a funky little bird image that I had also seen in an Etsy shop. 

I was so tempted to get it from the shop, but was having issues with the download I already purchased......  a copy of a embroidery book dating back to the 1880's....

I couldn't open the PDF, turns out it was a link to a site to download it there, instead of the book. I didn't find this out until trying to download it on my phone hours later.. my PC just wouldn't open it

 I tried contacting them but didn't get a reply for over 12 hours ( they are overseas from me ), when the seller replied, I was given another link to download it that my PC was cool with.. no more issues with it.. but this gave me the time to go looking on Pinterest in the first place

 When I found the image of the funky bird on Pinterest it had a link to free internet archive site ( donations are welcome ).. link is at the bottom of this post... they are saving copies of books that would be lost for the most part..

I downloaded this book while waiting and a few others by Briggs & Co. this one is dated 1917... COOL

 So in keeping with using scraps.. I grabbed a small piece of scrap fabric ( from the drawstring bags as it was on top of the pile lol ) and some scrap thread, the kind friendship bracelets are made of... in small hanks like embroidery floss but thick like crochet thread ... I had left over from market days ( made them to hand out to kids ) matched up pretty well... 

 the ribbon is some that was gifted to me, that was some of their scraps and is clearly well over 20 years old, seemed fitting .. 

I used a B 2.25mm hook, standard increase of adding one extra stitch per repeat per round starting with six stitches in the round, until I reached 8 stitches in between increases,

 then just continued with straight single crochet ( US terms )  until I reached a size I liked, working in a spiral .. 

the ribbon is thin so I just did a round of double crochets after a slip stitch to even out the round..

 topped it with a couple of rounds single crochets, used a yarn needle to weave the ribbon through... 

with the color changes of the thread I used a simple knot, a few of inches from the end of the thread, leaving a good two inch tail of both threads,

 I simply worked over both for a bit, keeping my tension on the tight side so it would blend in better.. snipped the ends off close to the stitch after a tug to pull smooth, giving me only the start and finishing tail to weave in.. 

I just did a simple stitch to attach the embroidered fabric to the bag after a rough round cut, keeping it wide spread and uneven.. no fussy cutting or interfacing.. 

I want a bit of fraying to happen as it ages .. the stitches are deep enough to keep it from affecting the embroidery .. oh I did use embroidery floss to stitch it down.. one strand was used throughout. used a back stitch for the inside feather lines and the outline wrapping the outline.. head I did a single wrap french knot..the eye, feet and branch were done with a satin stitch 

as you can see from the photo taken off of Pinterest, I did change it up a little, a few less feather lines due to size and well because I don't normally like coping anything exactly .. even from pattern books.. got to put your own flare on your work 


check out those other birds... that owl.. sweet ..

side note.. while I was getting a photo of this bag and the drawstring bags I embroidered, one of which I did a "sketch like" black bird ( see photo below ) .. this guy shows up right outside of my window sitting in the same pose..


this photo is before ribbon was added, did get some finally but as yet to take a photo


Link to embroidery book download  


Monday, April 17, 2023

My take on chill pills

I was asked if I could make a chill pill by a friend.. I hadn't seen any up to that point but knew right away how I wanted to make mine.. quick and simple... what a fun idea to use up some scrap yarn.. so I set down my embroidery and and made a few ..

I have since seen some really cute ones, some with little faces, but much bigger than what came out with, so if you're looking for a bigger one do a quick online search, there seems to be quite a few out there..
They can be made with just about any size yarn and coordinating hook.. most of my scrap yarn is worsted weight so that's what I went with.. I had started with blue and white but the blue came up a bit short so I grabbed the next larger ball in a solid color, pretty sure it's mulberry by Red heart.. mix and match all your scraps


10 yards approximately of worsted weight yarn for both colors

G / 4.0 mm hook

yarn needle

exact gauge is not essential to this project

worked in a spiral so don't join throughout 


written in American terms

ch = chain 

dec = decrease, I use a invisible decrease described below with photos however you can use any decrease you like

inc = increase, two stitches in indicated stitch

sc = single crochet

sts = stitches

* * = repeat instructions between as many times as indicated


1 ) ch2, sc 6 times into the first st to form a circle ....( you can use a magic circle or any other startup for circles that you prefer) place a marker for easy   round counting, moving it along as you go
 

2 ) inc in each stitch ( 12 stitches )
 
3 ) *inc, sc1* repeat to end of round ( 18 stitches )

4-10) sc all stitches .. I tried making some with 8 rounds of sc but personally I think the slightly smaller one looks better..
after you reach the last sc,  stitch slip stitch into the next stitch, cut yarn and fasten off .. keep yarn tails on the inside, no need to weave in these
 
 
11-17 ) Picking up the next color put a slip knot on your hook, place your hook through the stitch three stitches before your last stitch, this will be the new starting point of each round so place a stitch marker in this stitch when the stitch is completed


                                              yarn over and pull up a loop,

yarn over and pull through both loops on your hook to complete the stitch


sc until you get to the slip stitch of the previous round,sc in the top of that stitch
 
  being careful not to single crochet in the bottom of that stitch but going to the next stitch, for beginners it can be a bit harder to spot and easy to add an extra stitch here, sc as normal for the rest of the rounds


This round starts the two decrease rounds
18 ) *dec, sc1* to end of round ( 12 sts ) see below explanation of  dec
 
I use a invisible decrease, do this by sliding your hook through the first loop only of the next stitch then repeat with the following stitch without doing a yarn over for either,

 
then yarn over and pull the loop through both loops on your hook
 
Yarn over and pull through both loops on hook decrease completed


After the first decrease round add your stuffing
19 ) dec to end of round, cut yarn leaving about 6 inches, fasten off, place yarn tail on yarn needle,

weave with through front loop of each stitch, pull snug 

 
Take your needle down through the center of the stitches you just pulled tight and pop out the side, go back in ( keeping to the same color as tail ) and pop out again on the other side, cut yarn close to the side of chill pill


I did a quick back stitch in contrasting color to spell out chill

That it your done